DiscoLike MCP Server Setup
Connect AI assistants like Claude, Codex, Cursor, and VS Code directly to DiscoLike company profiles, contacts, and enrichment data.
Server URL: https://api.discolike.com/v1/mcp
1. Add the MCP server
claude mcp add discolike --transport http https://api.discolike.com/v1/mcp2. Authenticate
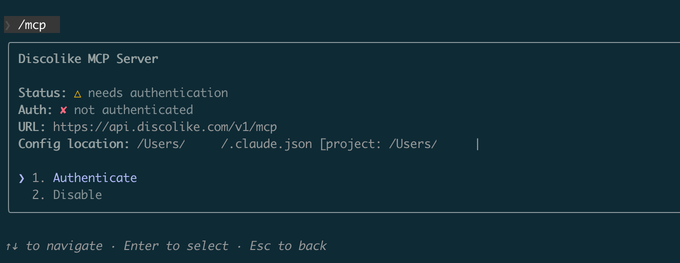
Run /mcp in Claude Code. Select discolike from the list of servers — it will show a “needs authentication” status.

3. Select “Authenticate”
Choose Authenticate from the options. This will open your browser to complete the authorization flow.
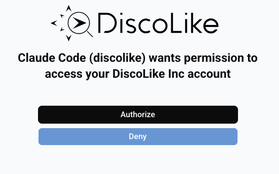
4. Authorize in your browser
Click Authorize to grant Claude Code access to your DiscoLike account.
1. Add the MCP server
codex mcp add discolike --url https://api.discolike.com/v1/mcp2. Add the OAuth resource
Codex currently does not have a codex mcp add flag for this value.
Open ~/.codex/config.toml and make sure the DiscoLike server entry includes oauth_resource:
[mcp_servers.discolike]url = "https://api.discolike.com/v1/mcp"oauth_resource = "https://api.discolike.com/v1/mcp"Codex uses the oauth_resource value when requesting the browser authorization flow.
3. Authenticate
codex mcp login discolikeOpen the authorization URL that Codex prints, sign in to DiscoLike, and click Authorize.
If you are reconnecting after changing the config, clear the old token first:
codex mcp logout discolikecodex mcp login discolike1. Add the connector
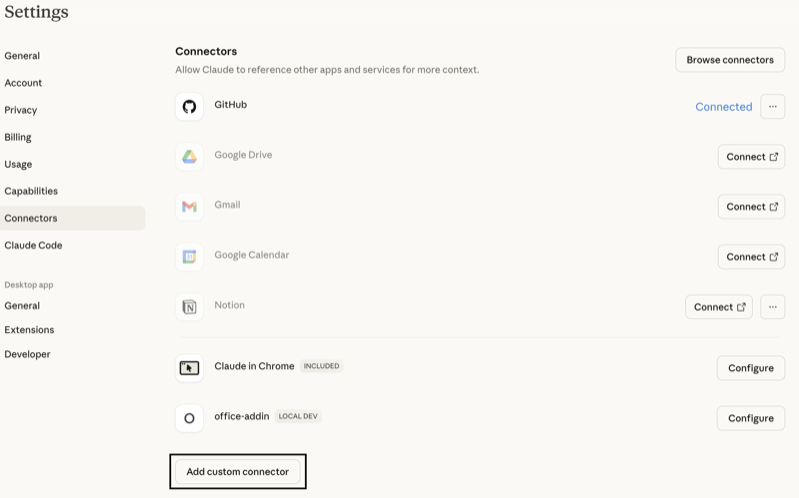
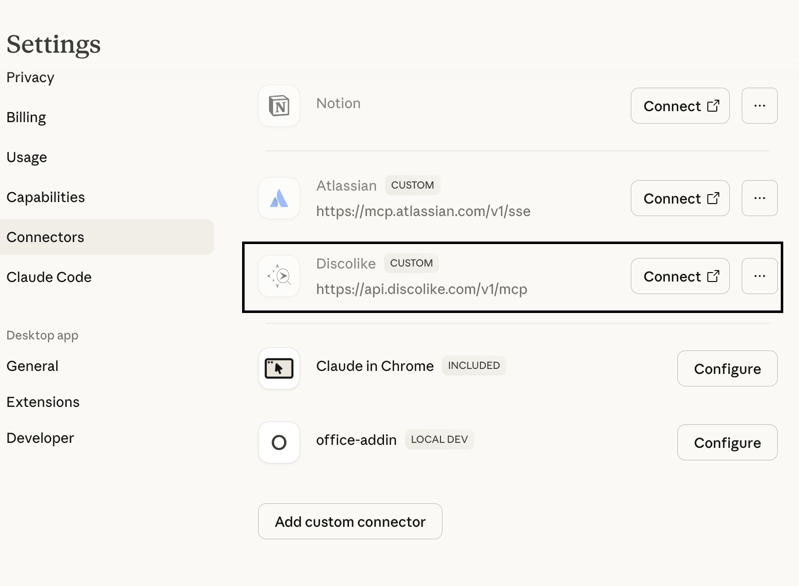
Go to Claude Desktop → Settings → Connectors → Add Custom Connector.
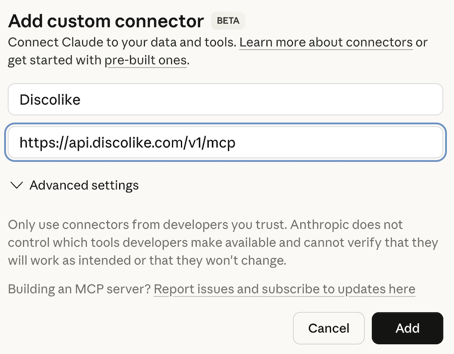
In the “Add Custom Connector” window:
- Name: DiscoLike
- MCP Server URL:
https://api.discolike.com/v1/mcp
Click Add.
2. Connect
DiscoLike will appear in the connectors list. Click Connect next to it.
3. Authorize in your browser
A browser window will open — log in to DiscoLike and click Authorize.
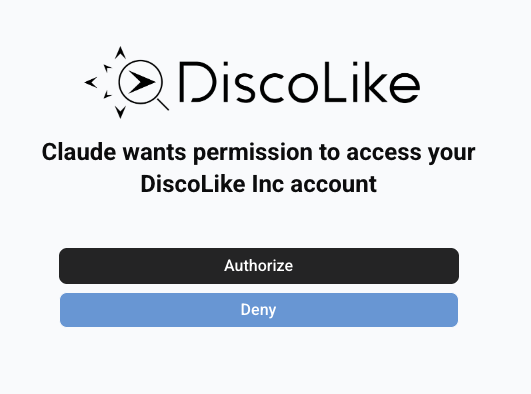
You will be redirected back to Claude Desktop.
1. Create the config file
Add to .cursor/mcp.json (project) or ~/.cursor/mcp.json (global):
{ "mcpServers": { "discolike": { "url": "https://api.discolike.com/v1/mcp" } }}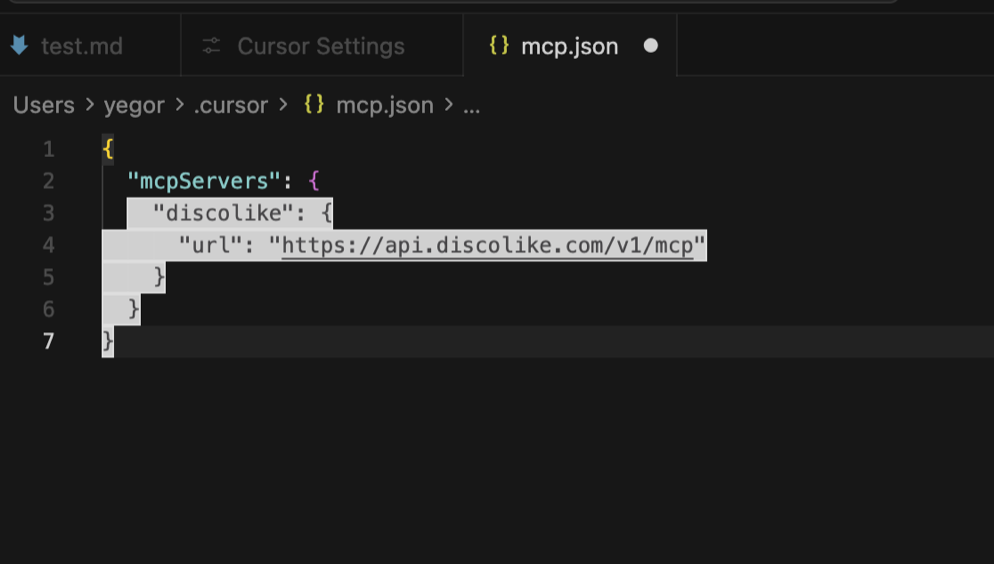
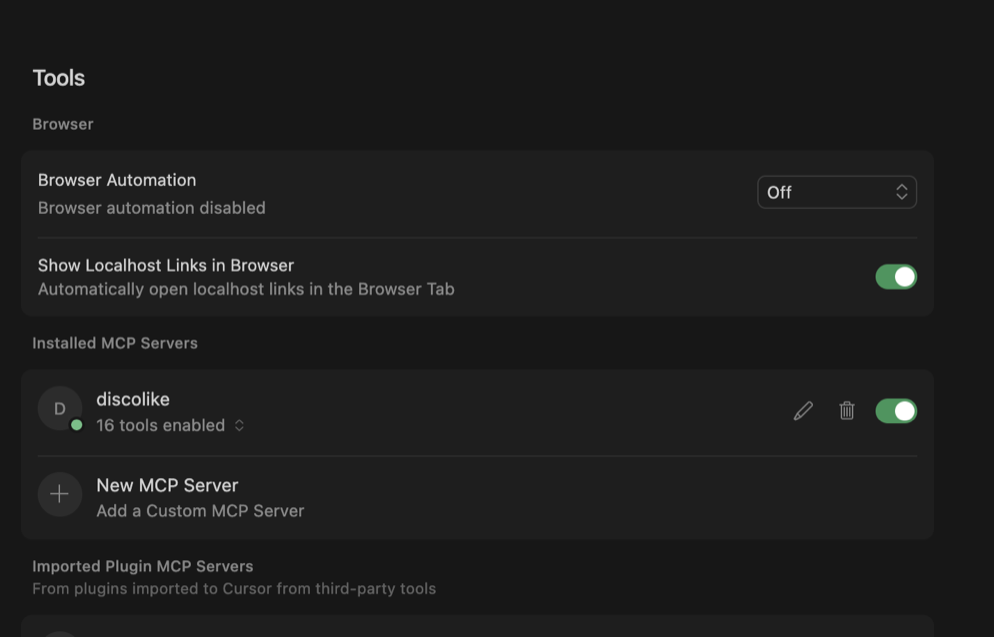
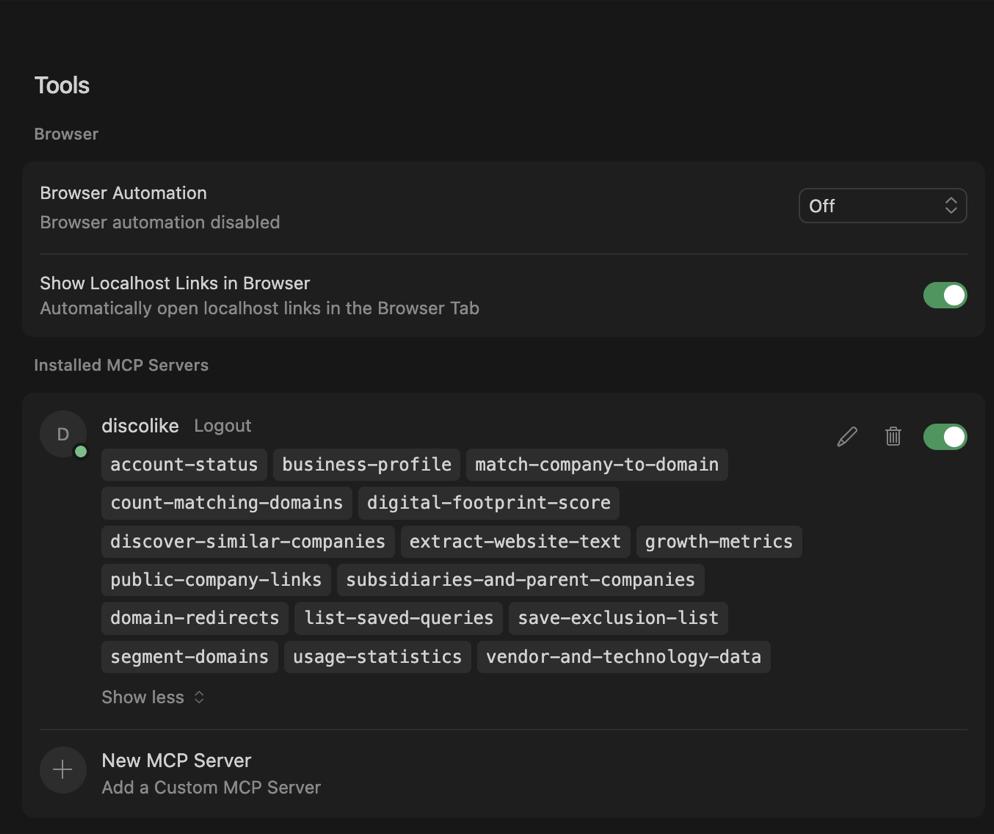
2. Open Cursor Settings → Tools
You’ll see DiscoLike appear under “Installed MCP Servers” with a “Needs authentication” status.
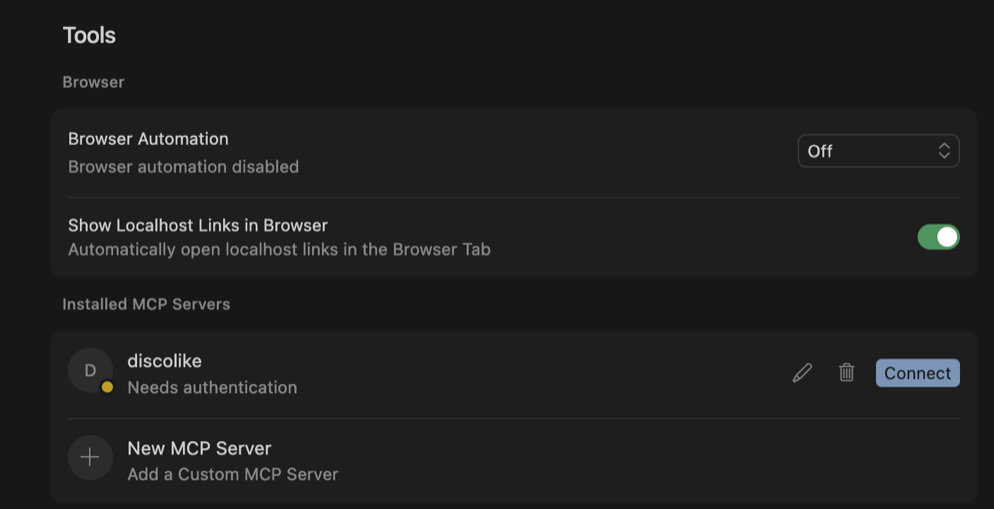
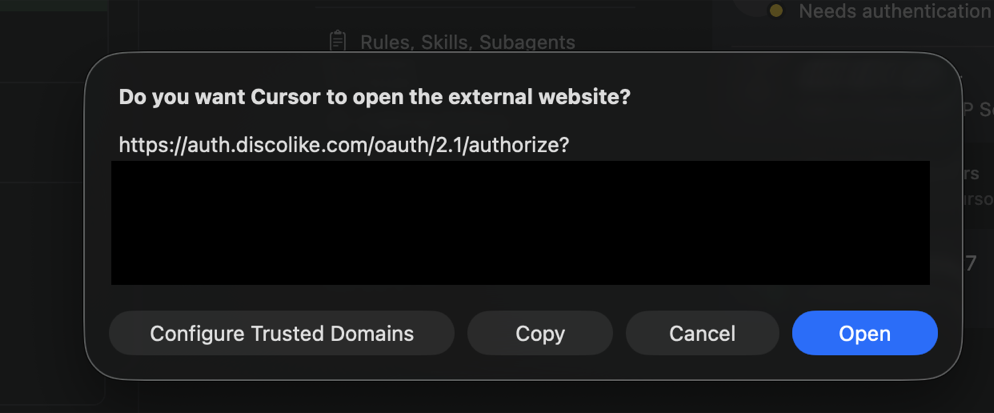
3. Click “Connect” to authenticate
Cursor will prompt you to open the authorization URL.
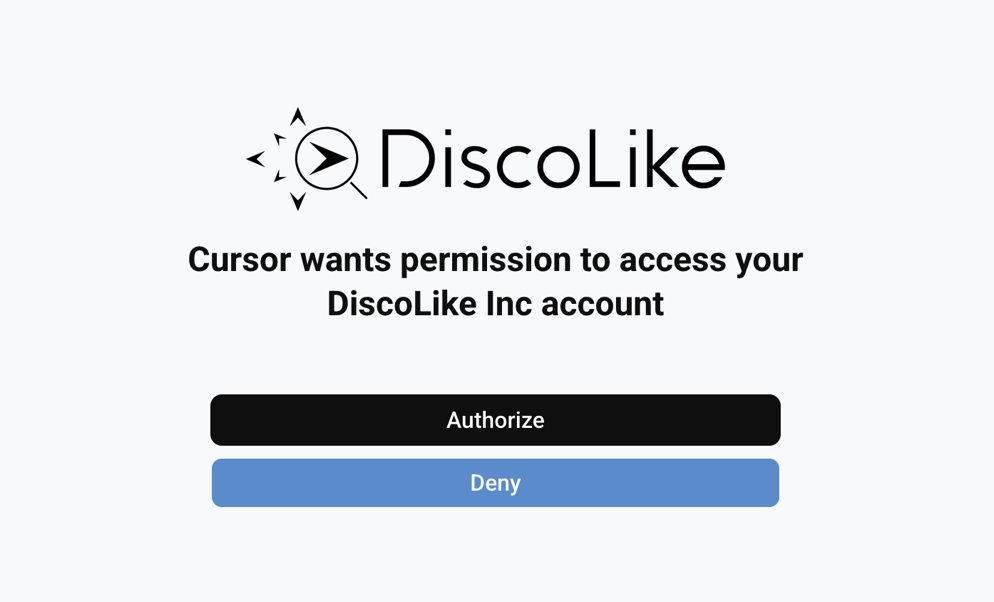
4. Authorize in your browser
Click “Authorize” to grant Cursor access to your DiscoLike account.
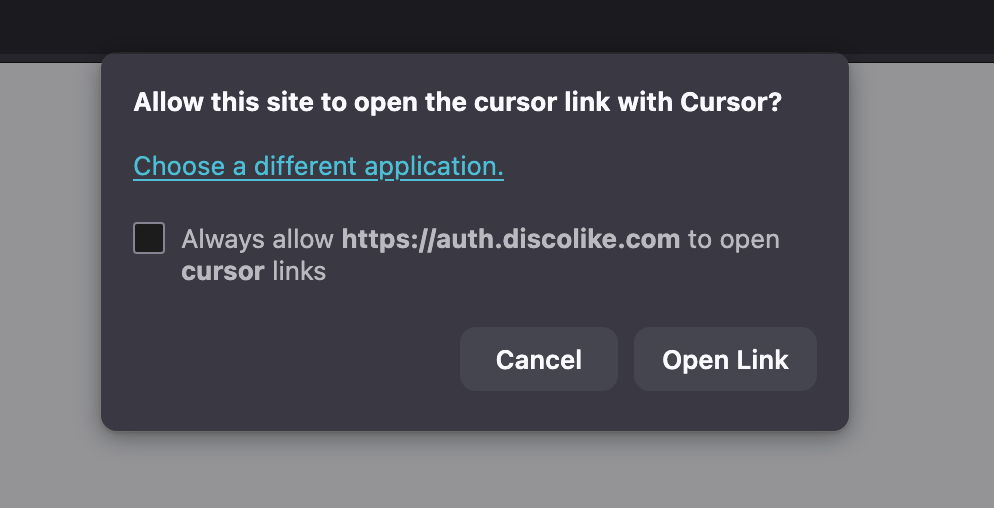
5. Return to Cursor
Your browser will ask to open the callback link in Cursor.
6. Connected!
DiscoLike will show as connected with all tools available.
7. Start using DiscoLike tools
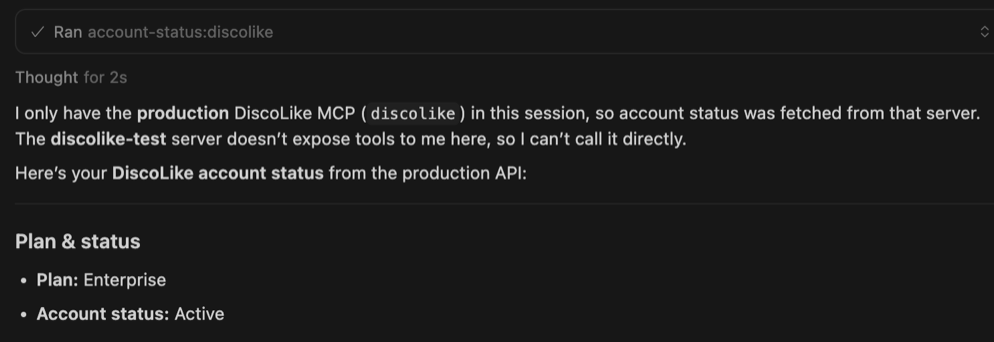
Ask Cursor to use any DiscoLike tool in your conversations.
Add to .vscode/mcp.json:
{ "servers": { "discolike": { "url": "https://api.discolike.com/v1/mcp" } }}Add to ~/.codeium/windsurf/mcp_config.json:
{ "mcpServers": { "discolike": { "serverUrl": "https://api.discolike.com/v1/mcp" } }}